Just like Josh gibson Unit 6 week 1
This week we created a compare and contrast activity. The kids had a great time with this.
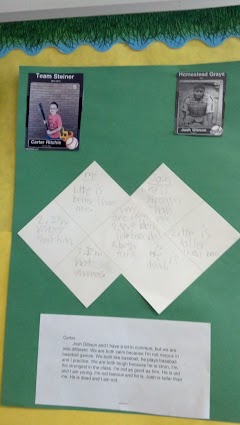
First, we talked about how we were like Josh Gibson on the center base. Then on the other 3 bases they has to come up with how they are different. Students took their baseball compare and contrast chart and turned it in to a nice paragraph. Josh Gibson and I are the same ,but we are also different. They typed their paragraph and printed it.
Finally , they used an App called Sports card on the iPad. In partners they took photos of each other and created a base ball card of them and on for Josh Gibson.
Overall , this was a great project.
How to set up a kidblog

Setting Up Kidblogs For Your Classroom
1. Why should you start blogging in your classroom Take a look at what other educators have to say:
2. Kidblog is a simple blogging platform for students . It is accessible through the web or through the Kidblog app.
3. Take a look at a few examples of how students are using blogging in the classroom.
4. Go to Kidblog.org and create an account.
5. Add users to the account.
6. Review your settings in the control panel. Make sure to check the box if you would like to moderate posts and
comments before going on the blog.
7. Learn about all the features of Kidblog through this Tutorial below.
8. Please take a look at a few additional resources to help you get started in your classroom:
Word Clouds
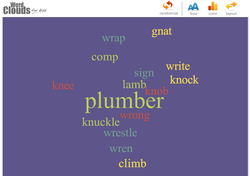
This week for spelling practice my students word clouds. They used a site called ABC.YA and created a word cloud.
This has helped make spelling practice exciting.
This has helped make spelling practice exciting.
Audio Boo
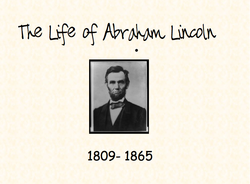
Abraham Lincoln Timeline
In second grade we are currently learning about " Working Together."
My students read a story about Abraham Lincoln's life. He was an amazing man.
They learned many things about his life.
Students worked together in partners to create a picture to represent a part of Lincoln's life.
Each student was given a word strip to make sure we did not have duplicates. They then created a
picture using Pixie 3. They were able to use the Netbooks in our classroom to complete this project.
When their picture was completed we combined all pictures to create a digital timeline of Abraham Lincoln's life.
We added music. All pictures we found on the pic4learning website. Students used their own imagination to create
their picture.
After each students picture was complete, they printed thumbnails of each page. How to do this: Students will print the picture, make sure the repeat picture button is checked. Select thumbnail images. This helped us create an image for each student. The students then cut them apart and shared each picture in class. At the end students had 14 pages to put in order.
After, all pictures were in order my students created a book timeline. They glued pictures in an accordion book, which was placed in a box without a cover. See picture.
My students felt accomplished. This was a great project that allowed me to see what my students remembered .
If I do this project again, I would change the sentence strips and give students more to plan and create their project. I really liked how students worked together.
